A brake caliper slide pin lets a floating caliper move sideways as the pads clamp the rotor. When the pin rusts, dries out, or binds inside its rubber boot, one pad can stay against the rotor while the other barely works. The result is uneven pad wear, a hot wheel, pulling during braking, or a scraping sound that changes with vehicle speed. Servicing the brake caliper slide pin is a practical repair for many DIY mechanics, but it requires the right grease and a careful inspection of the boot.
What the caliper slide pin does
Most cars and light trucks use a floating caliper. The caliper body sits on two guide pins mounted in a bracket, and the pins allow the body to move when hydraulic pressure pushes the piston outward. The inner pad contacts the rotor first. The caliper then slides on its pins and pulls the outer pad into the opposite side of the rotor. Both pads should clamp with similar pressure.
A brake caliper slide pin that moves smoothly will usually have a thin, even coating of high-temperature brake lubricant. It should not be packed with ordinary chassis grease, petroleum jelly, anti-seize, or wheel-bearing grease. Those products can swell certain rubber boots, wash out, or fail under brake heat. Silicone-based or synthetic caliper pin grease labeled for brake hardware is the safer choice. Permatex Ceramic Extreme, 3M silicone brake lubricant, and manufacturer-approved products are common examples, but the label and service manual should control.
The pin is not the same part as the pad abutment clips. Clips support the pad ears in the bracket, while pins guide caliper movement. Confusing those locations can put lubricant on the friction surface, which is a serious mistake.
Symptoms of a sticking pin
Start with the symptoms, then confirm them after removing the wheel. A seized brake caliper slide pin often produces one pad that is dramatically thinner than the other. For example, an outer pad with 2 millimeters of friction material beside an inner pad with 8 millimeters suggests restricted caliper movement or a piston problem. A single pad worn at an angle points toward a pad fitting issue, bent hardware, or caliper alignment.
After a normal drive with limited braking, carefully compare wheel temperatures without touching the rotor. A noticeably hotter wheel can indicate drag, although a failing hose, seized piston, parking brake mechanism, or bearing can create similar heat. A burning smell, blue rotor spots, smoke, or a pedal that feels abnormal means the vehicle should not be driven until the brake system is inspected.
A pin that is difficult to remove does not automatically prove it caused the problem. The bore may contain rust, the boot may be torn, or the pin may have corrosion where it rides. Record the pin position if the two pins use different designs. Some calipers use a rubber sleeve or a special damped pin in one location, and swapping them can cause noise or incorrect movement.
Tools and parts for the job
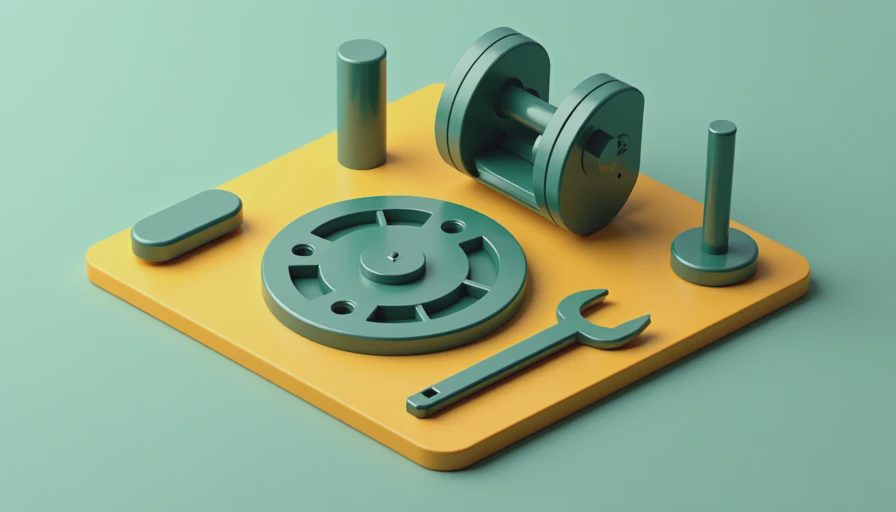
Gather a floor jack, jack stands, wheel chocks, a lug wrench, socket set, torque wrench, brake cleaner, shop towels, a small pick, a nylon brush, and a caliper hanger or strong wire. Never let the caliper hang by its flexible brake hose. You may also need new guide-pin boots, replacement pins, pad hardware, or a rebuilt caliper if corrosion has damaged the bore.
Use the correct socket size and support the vehicle at approved lift points. Chock the wheels that remain on the ground, loosen the lug nuts before lifting, and place the vehicle on stands before removing the wheel. Wear eye protection when using brake cleaner. Do not blow brake dust into the air with compressed air; spray cleaner onto a towel or use a controlled rinse according to local disposal rules.
Before disassembly, photograph the caliper, pad orientation, spring clips, and any wear sensor. A service manual is worth having for the caliper bolt torque and wheel lug torque. Torque values vary widely by vehicle, so using a familiar value from another car is not acceptable.
Cleaning and lubricating procedure
Remove the caliper retaining bolts and hang the caliper securely. Do not press the brake pedal with the caliper removed. Pull each pin straight out and keep track of its original location. Inspect the rubber boot for cuts, swelling, missing edges, or a boot that has pulled out of its seat. A damaged boot lets water and salt reach the sliding surface, so lubrication alone will not provide a lasting repair.
Clean the pin with brake cleaner and a lint-free rag. Light surface discoloration can often be removed with a nylon brush. Do not aggressively grind the pin, reduce its diameter, or use coarse abrasive material that leaves deep grooves. Clean the bore carefully and remove old grease, rust flakes, and dirt. The brake caliper slide pin should move through the bore with modest hand pressure, not require a hammer and not wobble excessively.
Apply a thin film of compatible caliper grease to the smooth sliding surface. Do not fill the entire boot with grease. Too much grease can become hydraulic pressure inside the sealed boot and prevent the pin from seating fully. If the design uses a small air channel or groove, keep it clear. Press the boot into its groove first, then insert the pin while gently twisting it. Confirm that the boot lip is not folded.
Reinstall the pads and caliper, ensuring the pads move freely in clean abutment clips. Wipe away any grease that could reach the rotor or pad material. Tighten the caliper bolts to the vehicle-specific specification with a torque wrench. Refit the wheel and torque the lug nuts in a star pattern. Pump the brake pedal until it feels firm before moving the vehicle; the piston may have moved back during service.

When cleaning is not enough
Replace the pin if it has deep pitting, a pronounced wear groove, heavy rust, or damaged threads. Replace the boot when it is torn, hardened, swollen, or unable to lock into the caliper bore. If the bore itself is badly corroded, a new pin and boot may bind again. A replacement bracket or complete caliper can be more economical than repeatedly servicing a damaged casting.
If both pads remain uneven after the pin service, inspect the piston. A piston that will not retract smoothly, a collapsed flex hose, restricted pad hardware, or a parking brake actuator can mimic a slide-pin failure. Check rotor thickness and runout against the manufacturer limits instead of judging by appearance alone. Brake noise after assembly can also come from missing shims, incorrect pad orientation, or dry pad ears rather than the guide pins.
Final inspection and road test
Before the first drive, verify that all bolts are tightened, the hose is not twisted, and the rotor is free of grease. The pedal should become firm after several slow pumps. Perform the first test in an empty area at low speed, applying the brakes gently. Then make a few moderate stops and check for pulling, vibration, grinding, or unusual heat.
After the test drive, compare the left and right wheel temperatures carefully and recheck for leaks or loose hardware. A properly serviced brake caliper slide pin should allow even pad contact without persistent drag. If the vehicle pulls, the rotor overheats, or the pedal changes, stop troubleshooting by guesswork and inspect the complete brake system. Documenting the parts, grease used, torque values, and pad measurements in a garage log makes the next repair faster and gives another mechanic useful evidence.

No comments yet — grab the first one.