When a driveshaft starts clunking during acceleration, the u joint is one of the first components to inspect. Understanding u joint replacement cost helps you decide whether to handle the repair in the driveway or pay a shop. A typical single-joint repair runs about $150 to $400 at an independent shop, while a DIY job can cost $25 to $100 in parts. Four-wheel-drive trucks, seized hardware, and difficult driveshaft access can push the bill well beyond that range.
A universal joint, usually called a u joint, allows the driveshaft to transfer power while the axle moves through its operating angle. It contains cross-shaped bearing caps filled with needle bearings. Once a cap loses grease or develops rust, the joint develops play. That looseness creates a clunk, vibration, or sharp metallic click when the vehicle changes direction or load.
What Determines U Joint Replacement Cost
The largest factor is the vehicle itself. A rear-wheel-drive sedan may use a simple external snap ring and offer easy access underneath. A full-size pickup can have multiple joints, a two-piece driveshaft, a carrier bearing, or factory-installed staked joints. More parts and more disassembly mean more labor. Some newer vehicles also use a complete driveshaft assembly instead of a separately replaceable joint.
The part price depends on brand and design. A basic Spicer, Moog, or Dorman replacement joint may cost $20 to $70. Heavy-duty greaseable joints for a work truck can cost $60 to $120. A complete driveshaft can cost $400 to more than $1,000 before installation. The shop may also charge for new straps, bolts, snap rings, or a center support bearing.
Labor commonly takes one to three hours. At a shop rate of $100 to $180 per hour, labor alone can range from $100 to $540. A local independent shop often lands near the lower end, while a dealership usually charges more. Ask whether the estimate covers driveline inspection, joint replacement, driveshaft balancing, and a road test rather than assuming the first number includes everything.

Symptoms That Point to a Bad U Joint
A clunk when shifting from Reverse to Drive or from Park into gear is a common warning. The sound happens because the driveshaft moves through the slack in a worn joint before torque reaches the axle. You may also hear a rhythmic squeak at low speed, especially when the joint is dry and the needle bearings are beginning to fail.
Vibration is another important symptom, but it does not prove the u joint is bad. A bent driveshaft, damaged transmission mount, worn differential bearing, or tire problem can feel similar. Inspect the joint for rust dust around a bearing cap, missing clips, a cracked seal, or visible movement at the cross. Any noticeable looseness is a serious finding.
With the vehicle safely supported, place the transmission in Park and set the parking brake. Do not rely on a jack. Try rotating the driveshaft by hand while watching each joint. A small amount of overall driveline lash can be normal, but movement inside the joint, a cap that shifts, or a cross that binds indicates trouble. On some vehicles, the driveshaft must be removed for a reliable inspection.
DIY U Joint Replacement Cost and Required Tools
For a straightforward joint, DIY u joint replacement cost is usually the price of the part plus a few consumables. Plan on $30 to $100 for a quality joint, penetrating oil, shop towels, and replacement retaining clips. If you do not own a press, a dedicated ball-joint or u-joint press can cost $50 to $150, although some parts stores loan these tools with a deposit.
You will normally need jack stands, wheel chocks, a socket set, a torque wrench, snap-ring pliers, a hammer, and a bench vise or press. Mark the driveshaft and yoke relationship with a punch or paint marker before removal. This preserves the original indexing and reduces the chance of introducing a balance problem. Measure or photograph the position of any shims, spacers, or carrier-bearing brackets.
Remove the driveshaft carefully and cap or cover the transmission opening if necessary. Press the old caps out rather than hammering directly on the yoke ears. Clean the bores, install the new joint in the same orientation, and confirm that every retaining clip is fully seated. A partially installed clip can allow the cap to walk out and destroy the driveshaft.
Shop Estimates, Parts, and Hidden Charges
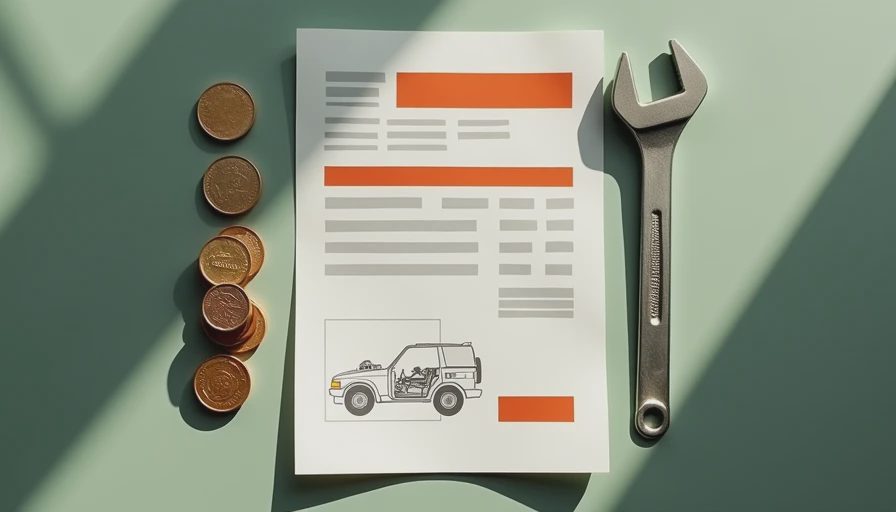
When comparing u joint replacement cost, ask for a written breakdown. One estimate might show a $45 joint and $180 labor. Another might quote $700 because it includes a new driveshaft, balancing, and a carrier bearing. Those are different repairs, not necessarily a dishonest price difference.
A shop may find that the yoke ears are stretched or worn after the old joint is removed. In that case, installing another joint will not provide a durable repair. A replacement driveshaft may be the correct solution. Rusted four-wheel-drive hardware can also add time, especially when the straps, flange bolts, or slip yoke are difficult to remove.
Some vehicles use non-serviceable joints that are staked into the driveshaft. The replacement process requires machining or carefully removing the stakes, and an inexperienced repair can damage the shaft. Confirm the exact configuration by vehicle identification number or a reliable service manual before ordering parts.
How to Decide Between DIY and Professional Repair
DIY makes sense when the driveshaft is accessible, the joint uses conventional clips, and you have a stable work area. It is a reasonable Saturday repair for an experienced home mechanic with a press and a torque wrench. Budget several hours instead of assuming the job will take the same time as a professional technician who has done the model before.
Professional service is the safer choice when the vehicle has multiple shafts, seized fasteners, a staked joint, or a persistent vibration after repair. Driveshaft balance matters. If the shaft is installed out of phase or a yoke is damaged, the vehicle can develop a vibration that damages transmission and differential components. A driveline shop can check runout and balance when a basic parts replacement is not enough.
Do not continue driving for weeks with obvious looseness. A failed joint can separate under load, allowing the driveshaft to strike the floor, transmission, exhaust, or fuel system. The resulting damage can turn a $200 repair into a four-figure recovery bill.
A Practical U Joint Repair Checklist
Start by identifying whether the noise occurs during acceleration, deceleration, turns, or gear changes. Then inspect every joint, not only the one closest to the differential. Measure driveshaft play and look for rust powder around the caps. Before buying parts, verify the vehicle year, engine, transmission, drivetrain, joint dimensions, and retaining-clip style.
After installation, grease a serviceable joint until the seal expands slightly, but do not overfill it. Tighten straps or flange bolts to the service-manual specification, reinstall the driveshaft marks in their original positions, and check that the shaft rotates without binding. Test-drive at low speed first, then listen for vibration during acceleration and coast-down.
The final u joint replacement cost should reflect the complete repair, not just the cheapest part on a search page. A $40 joint installed correctly can restore quiet operation for years. A rushed installation with damaged clips, incorrect indexing, or ignored yoke wear can fail almost immediately. Get the diagnosis right, use a quality part, and treat every fastener and retaining clip as a critical driveline component.



No comments yet — grab the first one.