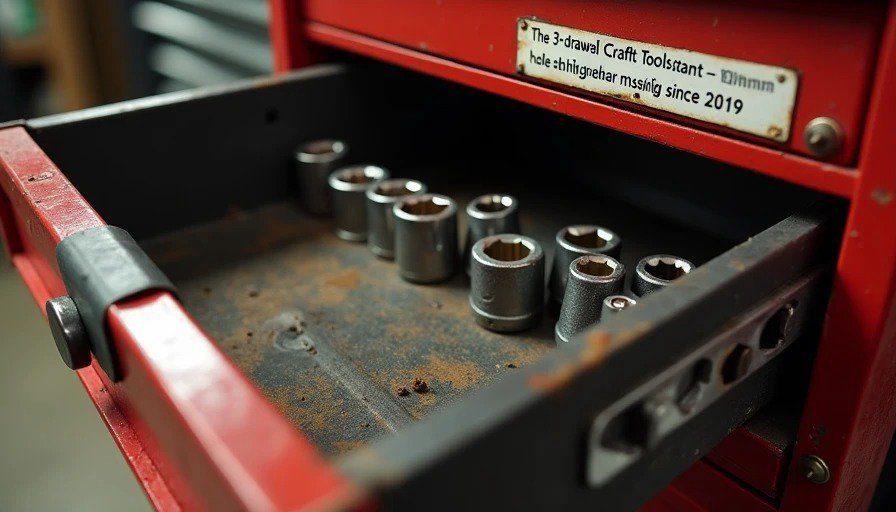
Symptom
Symptom | What It Means |
|---|---|
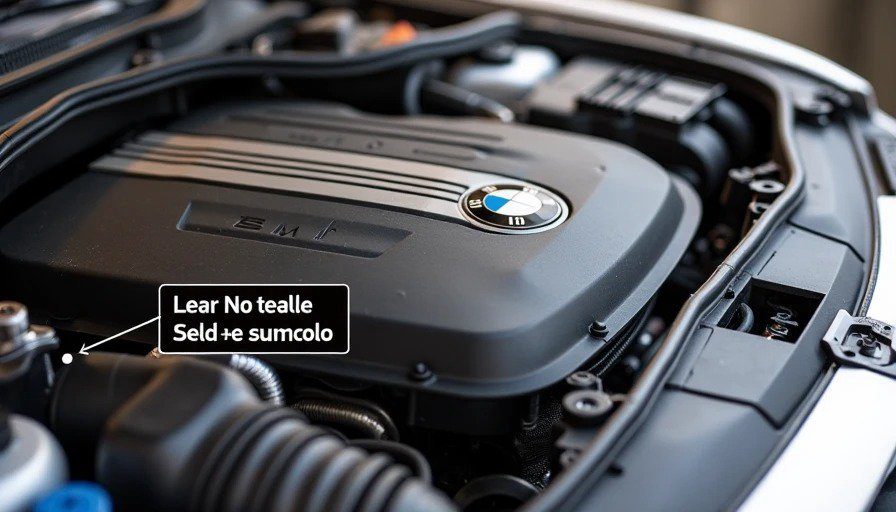
Burning oil smell from the engine bay | Oil leaking onto the exhaust manifold or turbos — the most common telltale |
Visible oil seepage around the valve cover edges | Gasket has hardened and lost its seal |
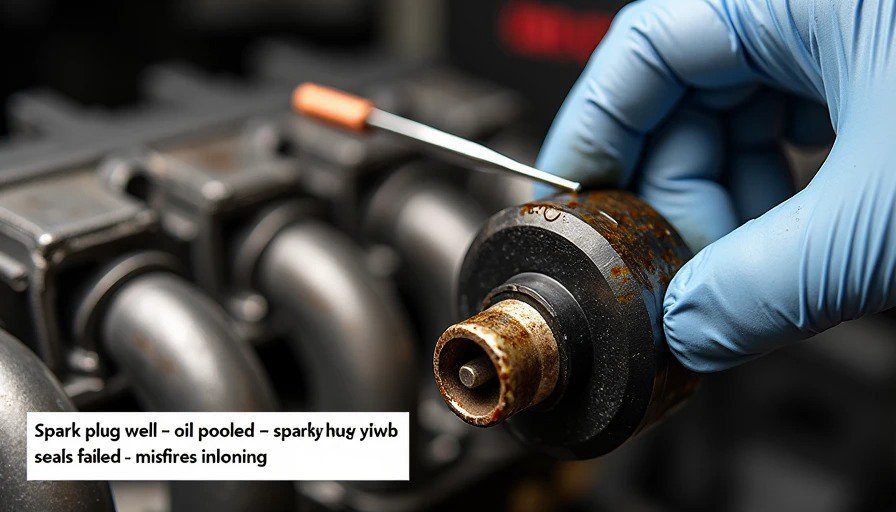
Oil in spark plug wells | Gasket around the spark plug tubes has failed — can cause misfires |
Check engine light with misfire codes | Oil shorting out ignition coils |
Smoke from the engine bay or hood | Oil burning off hot exhaust components |
Low oil level with no visible external leak on the ground | Oil is burning off before it drips — the N54's hot turbos vaporize it |
⚠️ Don't ignore this one. A leaking N54 valve cover gasket doesn't just make a mess — it can pressurize your crankcase and cause issues with your turbos. The gasket is a common failure point on these engines, and if you're smelling burning oil, it's time.
One more thing: If your valve cover is leaking, the cover itself may be cracked — the N54 uses a plastic valve cover that gets brittle with heat cycles. Inspect it carefully while it's off, and consider replacing the whole cover if you see any cracks.
Diagnosis
Before you tear into it, confirm it's the gasket (and not something else):
Step 1: Visual inspection. Look for oil seepage along the edges of the valve cover, especially at the rear (near the firewall) and on the exhaust side. The N54 leans toward the passenger side, so leaks often show up there.
Step 2: Smell test. Burning oil smell after a drive is the #1 symptom. If it smells like a barbecue under your hood, your gasket is leaking onto the turbos or exhaust manifold.
Step 3: Check the spark plug wells. Pull an ignition coil and look down the hole. If you see oil pooled at the bottom, the spark plug tube seals in the gasket have failed. This will cause misfires.
Step 4: Check for cracks in the cover itself. With the engine off and cool, run your hand along the top of the valve cover (carefully — it's hot when running). Cracks often form near the PCV valve area or around the bolt holes.
Tools Required
Tools & Consumables
Tool | Size/Type | Purpose |
|---|---|---|
Torx bit socket set | E10, E12 | Valve cover bolts (E10) and other fasteners |
Torx bit socket set | T30 | For some ground bolts |
1/4" drive ratchet + extensions | Various lengths | Tight quarters — a 1/4" drive is essential for the bolts |
3/8" drive ratchet + extensions | Various lengths | For bigger fasteners |
Pick tool set | — | Removing old gasket material and debris |
Plastic trim removal tools | — | Prying the cover without damaging the head |
Torque wrench (inch-lb) | 0–200 in-lb | CRITICAL — you need inch-lb precision for the 8.5 Nm valve cover bolts |
Small mirror on a stick | — | Seeing the back bolts |
Magnetic pickup tool | — | Retrieving dropped bolts |
Shop towels / rags | — | Cleaning |
Brake cleaner / parts cleaner | — | Degreasing sealing surfaces |
RTV sealant | Permatex Ultra Black or BMW-specific | A thin bead at the half-moon corners where the timing cover meets the head |
New valve cover gasket | BMW 11127565286 (OEM) | Never reuse the old gasket |
New valve cover bolts | Optional — 26x M6×32.5mm + 2× M6×38mm | Steel bolts — can be reused if in good condition, but new ones are cheap insurance |
New spark plug tubes | If your gasket kit includes them | The gasket often comes with the tube seals integrated |
Recommended But Not Required
Tool | Why |
|---|---|
Cowl removal tools | Removing the cowl gives you WAY more access to the back bolts |
Magnetic parts tray | Keeping track of 26 bolts is no joke |
Headlamp / work light | You'll be working in tight, shadowed areas |
Extra pair of hands | Maneuvering the valve cover back on is easier with two people |
Parts — What You Need
Part | Part Number | Qty | Note |
|---|---|---|---|
Valve cover gasket | 11127565286 | 1 | OEM only — aftermarket gaskets are hit-or-miss |
Valve cover bolts (short) | 7544369 | 26 | M6×32.5mm — steel, can be reused but new is cheap |
Valve cover bolts (long) | 11127556977 | 2 | M6×38mm — longer bolts for specific locations |
Valve cover bolts (extra) | 11127548063 | 3 | Additional bolts |
Valve cover (if cracked) | Various (OEM or quality aftermarket like Elring) | 1 | Inspect yours carefully — if it's cracked, replace it |
Pro tip: The OEM valve cover is expensive (~$400-500). If yours is cracked, consider a quality aftermarket option like Elring. But avoid the cheapest ones — they warp.
Procedure — Step-by-Step
Before You Begin — The One Bolt You Will Strip
Read this first. Seriously.
The N54 valve cover has 28 bolts (26 short + 2 long). They are M6 steel bolts going into an aluminum cylinder head. The torque spec is only 8.5 Nm (75 in-lb / 6.3 ft-lb).
That is barely more than finger-tight.
If you use a 3/8" drive ratchet and "just give it a little more," you will strip the threads in the head. The aluminum threads are soft. The steel bolts are hard. The aluminum loses every time.
The bolt you will strip: It's almost always the one at the 10 o'clock position (standing at the front of the car) or one of the rear corner bolts. These are in tight spots where you can't get a good angle, so you overcompensate with force. Or it's the one you can't see, so you guess.
How to not strip it:
Use a 1/4" drive ratchet, not 3/8". You physically cannot over-torque as easily with a 1/4" drive.
Use an inch-lb torque wrench — every single bolt. 75 in-lb. Not 80. Not "snug." 75.
Hand-start every bolt. Cross-threading is the other way to strip the head. If it doesn't go in smoothly with your fingers, stop and realign.
Tighten in stages. Do a first pass at half torque, then a final pass at full torque.
If a bolt suddenly gets harder to turn before reaching torque, STOP. You're about to strip it. Back it out, chase the threads with a tap, and try again.
If you do strip one: Most of the valve cover bolt holes are open-ended (they go all the way through the head). If you snap a bolt, you can sometimes spin it out the bottom with a left-hand drill bit. But prevention is 1000x easier than extraction.
Step 1: Preparation
Disconnect the battery (negative terminal). You'll be working around fuel injectors and electrical connections.
Let the engine cool completely. The fuel system will be pressurized if hot — you want it cool to avoid fuel spray when disconnecting lines.
Remove the engine cover (the plastic beauty cover — just pull up).
Remove the cowl. This gives you access to the rear bolts. On E90s, it's a few clips and screws — worth the 10 minutes.
Step 2: Remove Obstructions
Remove the passenger side strut brace (cross bar) — it blocks access to the rear of the valve cover.
Remove the ignition coils — six of them. Label them if you're not replacing them.
Disconnect the O₂ sensor connectors that are routed over the valve cover.
Remove the clips on the fuel rail that hold wiring in place.
Disconnect the vacuum lines from the brake booster line.
Step 3: Remove the Fuel Rail (Optional but Recommended)
You don't absolutely have to remove the fuel rail, but it's much easier if you do.
Disconnect the six fuel injector electrical connectors. Pry the tabs carefully — they're brittle.
Remove the three ground post nuts and move the wires aside.
Remove the fuel line fitting at the driver's side of the rail. Cool engine only!
Remove the sensor from the end of the fuel rail.
Remove the six fuel line fittings at each injector.
Lift the entire fuel rail assembly out and set it aside.
Pro tip: If you don't want to remove the fuel rail, you can tie the wiring harness out of the way. But the extra 20 minutes to remove the rail gives you way more room.
Step 4: Remove the Valve Cover
Remove all 28 valve cover bolts. Use your E10 Torx socket with a 1/4" drive ratchet.
There are 26 short bolts (M6×32.5mm) and 2 long bolts (M6×38mm).
Keep track of which bolts go where — the long ones go in specific locations.
The back bolts are the hardest — use a mirror to see them.
Gently pry the valve cover loose. Use a plastic trim tool or a putty knife — do not use a metal screwdriver. The cover is plastic and will crack.
Lift the valve cover straight up and off. Be careful not to snag the gasket on anything.
Step 5: Clean Everything
This is the most important step for a leak-free seal.
Remove all old gasket material from the valve cover. Use a pick tool and brake cleaner.
Remove all old gasket material from the cylinder head sealing surface. Be extremely careful not to drop anything into the engine — cover the open areas with shop towels.
Clean the sealing surfaces with brake cleaner on a rag — don't spray directly into the engine.
Clean out any debris in the head breather passages.
Inspect the valve cover itself:
Look for cracks, especially around the PCV valve area and the bolt holes.
If you see any cracks, replace the entire valve cover. A new gasket won't fix a cracked cover.
Step 6: Install the New Gasket
Press the new gasket into the groove on the underside of the valve cover. Make sure it's fully seated — it should snap into place.
Apply a small bead of RTV (Permatex Ultra Black) at the half-moon corners where the timing cover meets the cylinder head. This is where leaks often start.
If you're using an aftermarket gasket that feels loose, a tiny amount of RTV in the corners can help hold it in place.
Step 7: Reinstall the Valve Cover
Carefully lower the valve cover back onto the head.
Route the wiring harnesses out of the way — the ECU wires go behind the cover.
Don't scrape the new gasket — if it falls out of the groove, you'll have to start over.
An extra pair of hands helps here.
Hand-start all 28 bolts. Every single one should go in smoothly with your fingers. If one doesn't, stop and realign.
Tighten in stages:
First pass: Snug all bolts lightly with a 1/4" ratchet, working from the center outward.
Second pass: Torque to 8.5 Nm (75 in-lb / 6.3 ft-lb) using an inch-lb torque wrench.
Work in a crisscross pattern from the center outward.
⚠️ REMEMBER — 8.5 Nm is barely more than finger-tight. Do not over-torque.
Step 8: Reassemble Everything
Reinstall the fuel rail (if removed) — torque the fuel line fitting to 13 Nm.
Reconnect all electrical connectors, ground wires, and vacuum lines.
Reinstall the ignition coils.
Reinstall the passenger side strut brace.
Reinstall the cowl.
Reconnect the battery.
Step 9: First Start
Prime the fuel system: Turn the key to "on" (without starting) for 5 seconds, then off. Repeat 2-3 times to build fuel pressure.
Start the engine. It might run rough for a few seconds while the fuel system primes — that's normal.
Check for oil leaks. Let it idle for 5 minutes and look for any seepage around the valve cover edges.
Test drive and check again for leaks after everything is hot.
Torque Table — Fast Summary
Component | Torque (Nm) | Torque (in-lb) | Torque (ft-lb) | Notes |
|---|---|---|---|---|
Valve cover bolts | 8.5 | 75 | 6.3 | Use 1/4" drive — M6 bolts into aluminum |
Fuel line fitting | 13 | 115 | 9.6 | Driver's side |
Spark plugs | 23 | 204 | 17 | Standard N54 spec |
Critical: All torque values are for cold engine only. Hot aluminum expands and changes the torque reading.
Common Pitfalls
🚫 Pitfall 1: Over-torquing the valve cover bolts
This is the #1 mistake on this job. The bolts are M6 steel into aluminum threads. The spec is 8.5 Nm. That's barely more than finger-tight. Use a 1/4" drive ratchet and an inch-lb torque wrench. If you use a 3/8" drive and "guess," you will strip the threads.
🚫 Pitfall 2: Not cleaning the sealing surfaces properly
Old gasket material left on the head will cause the new gasket to leak. Scrape it all off. Clean with brake cleaner. Don't shortcut this.
🚫 Pitfall 3: Not replacing a cracked valve cover
The N54 valve cover is plastic and gets brittle with heat. If you see any cracks, replace the whole cover. A new gasket on a cracked cover is a waste of time.
🚫 Pitfall 4: Snapping the vacuum hose fitting
The vacuum hard line on the right side is brittle. If you snap it, it's a $70 replacement. Work carefully, or remove it from the left side first.
🚫 Pitfall 5: Not using RTV at the half-moons
The half-moon corners where the timing cover meets the head are notorious leak points. A small dab of RTV here prevents oil from wicking through.
🚫 Pitfall 6: Dropping the gasket during reinstallation
If the gasket falls out of the groove while you're lowering the cover, you'll have to lift it off and start again. Keep a finger on the gasket in key spots, or use a tiny dab of RTV to hold it in place.
🚫 Pitfall 7: Forgetting the ground strap
There's a ground strap attached to one of the valve cover bolts on the driver's side. If you forget it, you'll have electrical gremlins. Put it back on the same bolt.
🚫 Pitfall 8: Skipping the cowl removal
You can technically do the job without removing the cowl, but the rear bolts are almost impossible to see and torque properly. Removing the cowl adds 10 minutes and saves an hour of frustration.
Contributors
Role | Username | Notes |
|---|---|---|
Primary Author | torquemaster | Based on 6 N54 valve cover gasket replacements (E90, E92, E60) |
Technical Reviewer | bmw_tech_15yrs | Former BMW dealership technician, verified against BMW TIS |
Fact Check | n54_tuner | Verified torque specs with calibrated inch-lb wrench |
Safety Review | senior_editor_01 | Safety Critical flag approved — oil leaks can cause engine fires |
Last updated: 2026-07-21. This entry is a living document. If you have updates, corrections, or additional tips, start a discussion in The Edit Bay.




No comments yet — grab the first one.