A zip tie driveshaft fix is the kind of garage solution that appears after a late-night inspection, a loose wire, and a vehicle that still needs to move. The important distinction is whether the tie is securing a wire or trying to hold a rotating drivetrain component together. A zip tie driveshaft repair is not a structural repair, and using one around a shaft, joint, or damaged boot can create a serious hazard.
The driveshaft spins at road speed, often under the vehicle with very little clearance. A typical plastic tie can melt, stretch, or break after contacting heat, road debris, or a sharp edge. If the original problem involves a torn CV boot, missing balance weight, loose shield, or failing universal joint, the tie only hides the symptom. Diagnose the part first, then choose a repair that can survive vibration and rotation.
What people mean by a zip tie driveshaft fix
Searches for zip tie driveshaft usually describe one of three jobs. Someone may be tying a loose exhaust heat shield away from the shaft. Someone else may be holding a torn dust boot in place long enough to move a vehicle. A third person may be trying to secure a parking-brake cable, ABS wire, or sensor harness that is rubbing the shaft. These jobs have very different risk levels.
A plastic tie can be useful for routing a wire when it is installed far from the rotating tube, exhaust, suspension travel, and steering linkage. It should not be used as a clamp on a driveshaft tube, a universal joint, a yoke, or a CV axle. Do not mistake a zip tie driveshaft photo from a forum for a repeatable repair procedure. Photos often omit the clearance check and the condition of the surrounding parts.
If a tie is already installed, remove it before inspecting the vehicle. Look for melted plastic, shiny contact marks, scraped paint, thrown grease, and fresh dents. Those marks show where movement is occurring and are more useful than guessing from the noise alone.

Inspection before touching the drivetrain
Park on a level surface, set the parking brake, and use wheel chocks. If you must raise the vehicle, support it with properly rated jack stands under the manufacturer-approved points. Never work beneath a vehicle supported only by a floor jack. Put the transmission in neutral only when the vehicle is safely supported and the engine is off; follow the service manual for your drivetrain layout.
Use a flashlight to inspect the entire shaft from the transmission or transfer case to the differential. Check the slip yoke, flange bolts, center support bearing, universal joints, CV joints, boots, and nearby wiring. Grab the shaft and rotate it by hand. A small amount of rotational backlash through the differential can be normal, but a clunk, rough spot, binding joint, or visible side play needs investigation.
Mark the shaft and flange with a paint marker before removing anything. This preserves the original orientation and reduces the chance of introducing an avoidable imbalance. Photograph bolt locations, shims, washers, and carrier-bearing brackets. On many vehicles, driveshaft fasteners use specific torque values and sometimes thread-locking compound; the service manual takes priority over a generic number.
Why a plastic tie fails on a rotating shaft
A driveshaft is balanced as an assembly. Adding a tie, clamp, wire, or blob of hardened grease to one side changes that balance. At low speed it may look harmless. At 50 or 60 mph, the same added mass can create a vibration that rises with vehicle speed. A loose tie can also whip outward, catch a yoke, and become a projectile.
Heat makes the situation worse. Exhaust pipes and catalytic converters can expose nearby plastic to temperatures beyond its working range. The tie can soften and fall into the shaft, or it can shrink around a harness and damage insulation. A zip tie driveshaft workaround also has no predictable clamping force. It cannot restore a pressed bearing, retain a bearing cap, or hold a failed boot against centrifugal force.
Do not use a zip tie as a substitute for a missing universal-joint retaining clip. Do not wrap one around a cracked tube. Do not use it to stop grease from escaping a torn boot. Those failures require correct parts, clean surfaces, and a repair that preserves alignment and balance.
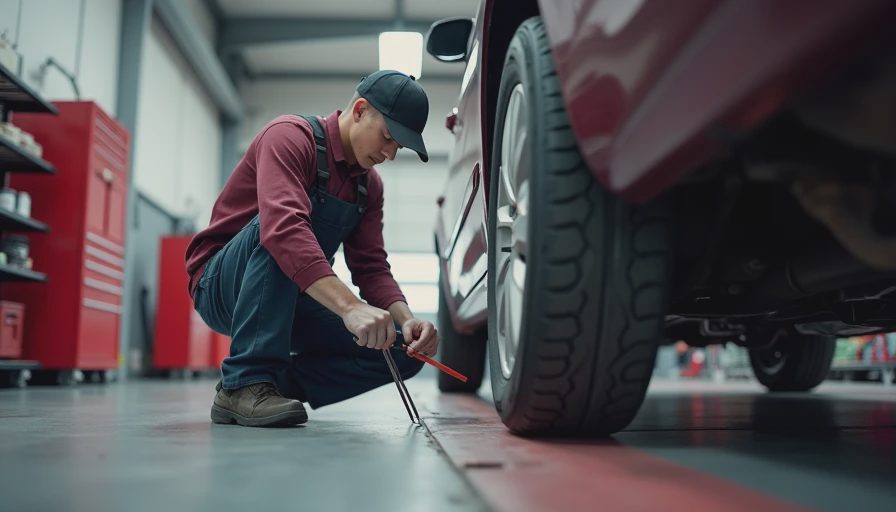
Safe temporary fixes for related problems
If the problem is a loose electrical wire, route it along the factory path and secure it to a stationary bracket with an automotive-grade tie or insulated clamp. Leave enough slack for suspension travel, but keep the wire at least several inches from the shaft and exhaust unless the manufacturer used a protected routing path. Turn the steering lock to lock and inspect clearance where applicable.
For a heat shield, use the original fastener points when possible. A stainless worm-drive clamp can be appropriate for some shields, but it must not contact the driveshaft or exhaust components in a way that creates a new rattle. A torn CV boot is different: the reliable repair is a boot kit or replacement axle, depending on joint condition. Clean grease, inspect the joint, and use the supplied clamp tool rather than improvising with a zip tie driveshaft band.
A vehicle with a loose carrier bearing, damaged universal joint, or cracked shaft should not be driven as a temporary experiment. Arrange a tow if the shaft has visible damage, substantial play, repeated clunking, or contact marks.
Diagnosing vibration, noise, and clunks
A vibration that increases with road speed often points toward tire imbalance, wheel damage, driveshaft imbalance, worn joints, or a bent shaft. A vibration that changes mainly with engine rpm can come from the engine or transmission instead. A clunk during Drive-to-Reverse shifts can indicate driveline lash, worn mounts, or a joint with excessive play.
Listen for a rhythmic thump, metallic tick, squeal, or scraping sound. A tick once per revolution may track a damaged shield or foreign object. A rumble that changes during acceleration and coast can point toward a joint, pinion bearing, or support bearing. Avoid test drives with unsecured parts. If a road test is necessary, remove all temporary plastic ties from rotating-area repairs and have another person observe only from a safe location, never beneath a moving vehicle.
Document the symptom with speed, gear, throttle position, and whether the vehicle is accelerating or coasting. That information narrows the diagnosis faster than replacing parts at random.
The correct repair path
Start with the service information for the exact year, make, model, engine, and drivetrain. Identify whether the vehicle uses a two-piece shaft, a center support bearing, bolt-on flanges, or slip yokes. Replacement shafts and joints must match length, spline count, flange pattern, and balance requirements. Some assemblies are serviceable; others are replaced as a complete unit.
When removing a shaft, support its weight, mark orientation, and protect seals from damage. Replace distorted locknuts, damaged straps, or single-use fasteners when specified. Torque fasteners in the listed sequence and recheck that the shaft turns freely with no contact. If a tube is bent or a balance weight is missing, use a qualified driveline shop rather than hammering the tube straight in the driveway.
The useful rule is simple: a zip tie driveshaft repair can sometimes describe temporary wire management near the driveline, but it cannot repair the driveshaft itself. Find the rotating, loose, or damaged part and fix that part with the correct hardware. A few minutes of inspection can prevent a failed joint from becoming a major transmission, exhaust, or underbody repair.




No comments yet — grab the first one.