Hose clamp pliers turn an awkward cooling-system job into a controlled repair. If you have ever tried to squeeze a factory spring clamp with ordinary pliers while reaching around an intake tube, you already know why the correct tool matters. The right set gives you reach, grip, and enough leverage to move the clamp without puncturing a hose or scraping your knuckles across an aluminum casting.
These tools are used most often on radiator, heater, fuel, vacuum, and emissions hoses. They are not all identical. Some use a cable for remote access, while others have fixed jaws for clamps sitting close to the end of a hose. Before buying, identify the clamp style on the vehicle and measure how much working room exists around it.
What hose clamp pliers actually do
Most factory spring clamps have two raised tabs or ears. Squeezing those tabs expands the clamp, reducing its tension against the hose neck. A regular pair of slip-joint pliers can sometimes do the job, but the jaws often slip off the tabs. That can release the clamp suddenly, damage nearby wiring, or leave the clamp stuck halfway down the hose.
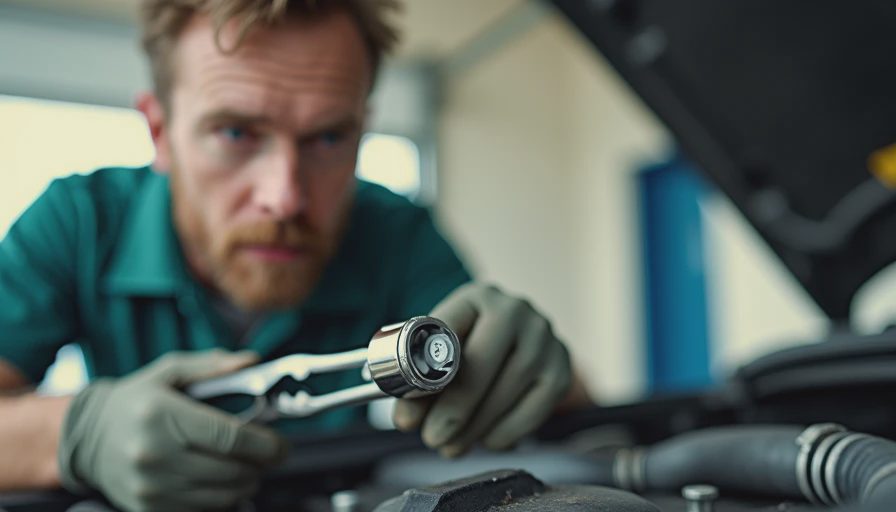
Hose clamp pliers use shaped jaws that capture the tabs. Many models also include a locking mechanism, allowing the clamp to remain open while you reposition the hose. This is useful when replacing a thermostat, water pump, radiator, or heater hose. A cable-operated design moves the jaws from a handle placed several inches away, which is valuable when the clamp sits behind an engine or beneath an intake manifold.
The tool does not remove the hose by itself. Once the spring tension is released, twist the hose gently to break the seal. Do not pry under the rubber with a screwdriver. A small pick can damage the hose lip, and a puncture may not appear until the cooling system reaches operating pressure.
Fixed-jaw, cable, and locking designs
Fixed-jaw hose clamp pliers are simple and inexpensive. They work well on radiator hoses, air-intake ducts, and other connections that are visible from above. A set with narrow and wide jaw profiles is more useful than one oversized pair because clamp tabs vary considerably between manufacturers. Expect to spend roughly $15 to $35 for a basic kit from brands such as Lisle, OEMTOOLS, or Performance Tool.
Cable hose clamp pliers are the better choice for crowded engine bays. The handle operates a flexible cable, while the clamp jaws sit at the opposite end. Lisle 39600 is a commonly encountered style, and similar tools are sold under several professional and house brands. Cable length, jaw rotation, and cable stiffness matter more than a polished handle. A cable that kinks under load can make a straightforward repair frustrating.
Locking hose clamp pliers hold the clamp open after you squeeze the handle. That feature saves a hand when you need to pull a hose, clean a fitting, or guide a replacement clamp into position. The lock should release smoothly and should not require excessive force. For occasional repairs, a $20 to $45 tool is usually adequate. Daily shop use justifies stronger pivot hardware and replaceable cable assemblies.
How to use hose clamp pliers without damaging parts
Start with a cool engine. On a cooling system, remove the pressure cap only after the engine and upper hose are cold. Place a drain pan beneath the connection if coolant or fuel residue could escape. For fuel work, disconnect the battery when appropriate, relieve fuel pressure according to the vehicle service procedure, and keep ignition sources away from the work area.
Position the jaws squarely on the clamp tabs. Squeeze slowly until the clamp opens enough to clear the hose bead. If the tool is angled, stop and reposition it rather than increasing force. A crooked grip can bend the clamp or crush the edge of the hose. With locking models, engage the lock only after the jaws are fully seated.
Slide the clamp back along the hose, but do not push it so far that it disappears behind a bracket. Twist the hose by hand. If it will not move, warm rubber with moderate heat from the engine after shutdown, or use a hose-removal pick carefully around the outside of the fitting. Never use an open flame near fuel or coolant.
After removal, inspect the hose for hardening, cracks, swelling, or a polished groove where the clamp sat. Clean corrosion from the metal fitting and compare the replacement clamp with the original. Hose clamp pliers are also useful during installation because they let you place the clamp beyond the bead before releasing it gradually.
Choosing the right tool for your vehicle
Look at access first, not the tool advertisement. A transverse four-cylinder may have a radiator hose that accepts fixed jaws, while a rear-wheel-drive V8 can hide heater-hose clamps against the firewall. A 12-inch cable tool can reach that location, but a long handle may interfere with the hood, strut tower, or fuel rail.
Check the clamp diameter range and jaw shape. Small constant-tension clamps on vacuum lines need more delicate jaws than a large radiator clamp. Some pliers include reversible jaws for different tab orientations. That is helpful on European vehicles, where clamp geometry may differ from the spring clamps found on many domestic applications.
A good tool should have a comfortable handle, a positive lock, and jaws that remain aligned under load. Avoid extremely thin stamped pivots if you expect to service cooling systems regularly. For a home garage, one fixed-jaw set plus one cable-operated tool covers most hose work without filling a toolbox drawer with duplicates.
Price is not the only measure. A $12 tool that slips once can cost a $40 hose, several quarts of coolant, and an afternoon of cleanup. Midrange hose clamp pliers generally provide a better balance of jaw control and durability. Professional tools from Lisle, OTC, and similar manufacturers cost more, but parts availability and stronger pivots can matter when a clamp is buried behind an engine.
Common mistakes during hose repairs
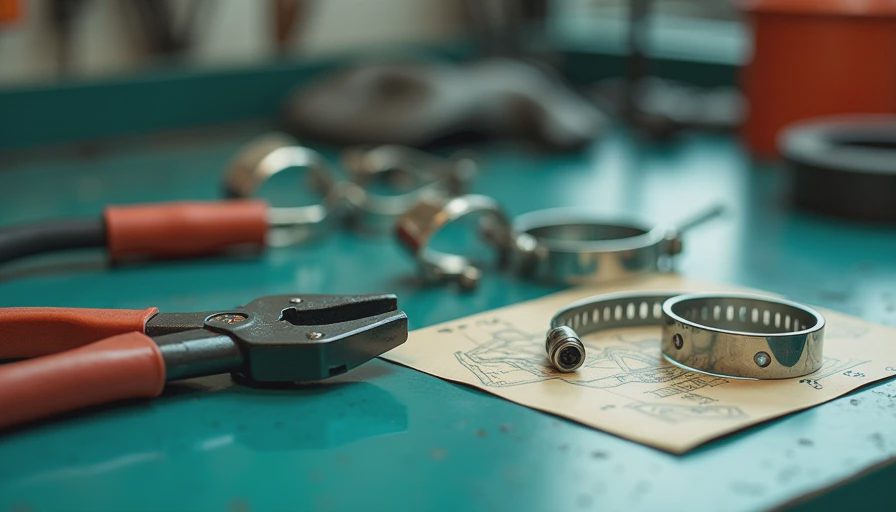
The most common mistake is squeezing the wrong portion of the clamp. Grip the raised ears, not the flat band. If the ears are inaccessible, rotate the clamp with the tool or remove an obstruction rather than attacking it with diagonal cutters. Cutting a factory clamp may be acceptable for replacement, but it is a poor first move when the hose and fitting are still serviceable.
Another mistake is reinstalling a clamp in its original damaged position. A clamp that has lost tension, developed deep grooves, or shows rust should be replaced. Use the correct diameter and style; a worm-drive clamp is not always a suitable substitute for a factory spring clamp, especially where temperature changes cause the hose to expand and contract.
Do not overextend a cable tool. If the handle reaches its stop before the clamp opens, release it and choose a better angle. Forcing the handle can stretch the cable or bend the jaw assembly. Lubricate a sticky pivot with the product recommended by the manufacturer, and wipe coolant or fuel from the tool before storage.
Finally, verify the repair before driving. Refill coolant using the vehicle's specified procedure, bleed trapped air when required, and inspect for leaks at idle and after a complete warm-up. A short test drive followed by another inspection is cheaper than discovering a loose clamp on the shoulder of the road.
A sensible garage setup
For most DIY owners, start with fixed hose clamp pliers that include narrow jaws and a locking feature. Add cable hose clamp pliers when a vehicle in your driveway has rear-mounted thermostats, crowded heater hoses, or clamps hidden behind accessories. Keep a drain pan, hose pick, replacement clamps, shop towels, and the correct coolant nearby before beginning the job.
Store hose clamp pliers clean and dry. Open the jaws slightly so the spring is not compressed for months, and inspect cable tools for frayed strands before each use. Record the vehicle, hose location, clamp diameter, and replacement part in your garage log. That note can save significant time the next time the same platform needs service.
The best purchase is the tool that matches the clamp and access problem in front of you. Use controlled pressure, protect the hose, and never substitute force for a better angle. With the right hose clamp pliers, jobs that once required removing half an engine bay become manageable, repeatable repairs.


No comments yet — grab the first one.