A coolant reservoir is easy to ignore until the temperature gauge climbs or a puddle appears under the front of the car. This small plastic tank stores expanding coolant, returns fluid to the radiator as the engine cools, and gives you a quick way to check the cooling system. If the coolant reservoir is empty, cracked, stained, or bubbling, treat it as a diagnostic clue rather than simply adding fluid and driving away.
What the coolant reservoir does
Most modern vehicles use a pressurized cooling system with a radiator cap or expansion-tank cap. When coolant heats up, it expands and moves into the coolant reservoir. After shutdown, the fluid contracts and is drawn back toward the radiator. The level should normally sit between the MIN and MAX marks when the engine is completely cold.
Some European vehicles use a pressurized expansion tank as part of the primary cooling system. In that design, the tank may have a warning label, a threaded pressure cap, and hoses that carry full system pressure. Do not assume every reservoir is just an overflow bottle. Check the cap location and the owner’s manual before opening anything.
Use the correct coolant specification for the vehicle. Green, orange, blue, and yellow colors are not reliable compatibility guides because dye colors vary by manufacturer. A 50/50 mixture of antifreeze and distilled water is common, but some products arrive premixed. Mixing the wrong formulas can reduce corrosion protection or create deposits inside the radiator and heater core.
Inspecting the tank and finding leaks
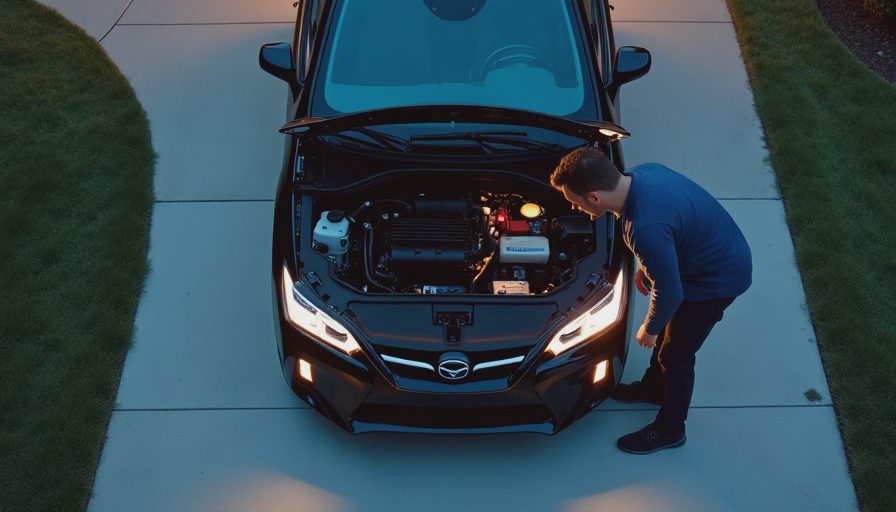
Start with a cold engine parked on level ground. Look at the coolant reservoir from several angles, including the seam around the molded plastic, the underside, and the hose connection. A small split can open only when the engine warms and pressure rises. White, pink, green, orange, or chalky residue near a seam often identifies dried coolant.
Next, follow each hose connected to the tank. A loose clamp, hardened hose end, or rubbed-through section can leak just as easily as the bottle itself. Inspect the radiator cap seal and the neck where the cap locks. A damaged cap can release pressure early, push coolant out, and make a healthy reservoir look faulty.
Never remove a hot cap. Hot coolant can flash into steam and cause severe burns. If the level is low, wait until the engine is cold, add the specified mixture to the correct mark, and note how much fluid the system accepts. A reservoir that needs a cup every few days has an active leak, even if no puddle reaches the garage floor.
Common causes of a low coolant level
A cracked coolant reservoir is one possibility, but it is not the only one. Check the radiator, water pump, thermostat housing, heater hoses, radiator hoses, and head gasket symptoms before ordering parts. A water pump may leave a trail from its weep hole, while a thermostat housing can leak onto a hot engine and evaporate before reaching the ground.
A cooling-system pressure test is the fastest practical test for many external leaks. With the engine cold, a hand pump and vehicle-specific adapter pressurize the system to the pressure listed on the cap or service information. Do not exceed that rating. Watch the gauge for several minutes and inspect the coolant reservoir, hose joints, radiator tanks, and pump area for seepage.
If the pressure drops but no external leak appears, inspect the oil for a milky appearance, watch for persistent white exhaust after warm-up, and look for combustion bubbles in the coolant. Those signs require more testing, such as a combustion-gas test or cylinder leak-down test. Do not condemn a head gasket from one symptom alone.
Replacing a coolant reservoir
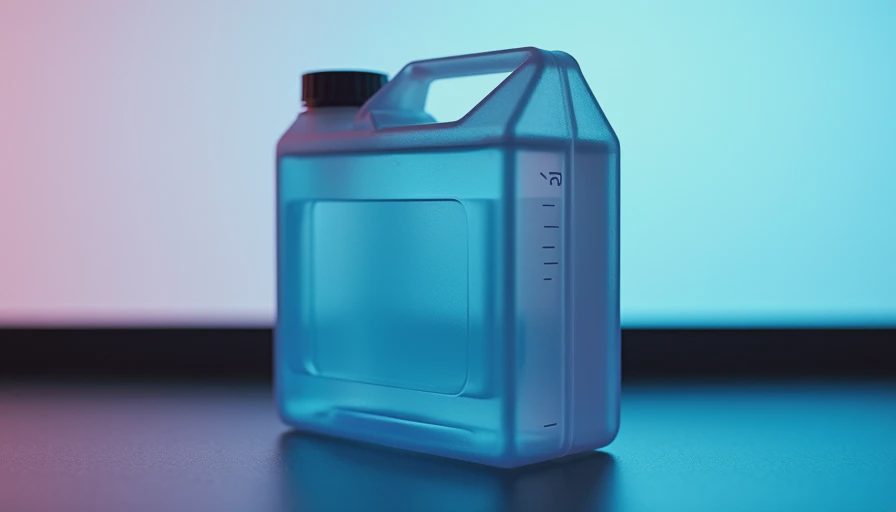
Replacement is usually straightforward, but access varies. Gather safety glasses, gloves, pliers, a trim tool, a drain pan, the correct replacement tank, fresh coolant, and new clamps if the originals are rusty. Photograph hose routing before removal. Many tanks use one lower return hose, one upper vent hose, and a mounting bolt or rubber grommet.
Let the engine cool completely. Remove enough coolant to prevent a spill, then release the hoses with twisting pressure rather than pulling hard on brittle plastic fittings. Remove the mounting fastener and lift out the tank. Compare the replacement coolant reservoir with the original before installation; the hose ports, mounting tabs, sensor opening, and cap neck must match.
Transfer the level sensor only if the replacement design requires it, and replace its seal if it is swollen or flattened. Seat every hose fully behind its retaining bead, tighten clamps evenly, and avoid overtightening plastic fittings. Refill with the specified coolant, bleed trapped air according to the vehicle procedure, and run the engine while monitoring the temperature gauge and cabin heater output.
After a complete cool-down, recheck the level. A small drop after bleeding can be normal, but the coolant reservoir should stabilize between its marks. Reinspect the work after the first drive and again the next morning. A dry paper towel wrapped around a hose joint can reveal a slow seep that is difficult to see while the engine is running.
Cap, sensor, and hose problems
The cap deserves attention because it controls system pressure. A weak spring or hardened seal can cause premature venting, while a cap that cannot release pressure can contribute to hose swelling or tank damage. Replacement caps are inexpensive, but the pressure rating must match the original specification. Do not substitute a higher-rated cap to mask an overheating problem.
Some vehicles have a level sensor installed in the coolant reservoir. A warning light with a full tank can result from a stuck float, corroded connector, broken wire, or failed sensor. Unplug the connector only with the ignition off, inspect for coolant intrusion, and use a wiring diagram or scan data before replacing an electronic part.
A swollen hose, repeated empty tank, or temperature spike means the vehicle should not be driven until the cause is identified. Overheating can warp an aluminum cylinder head, damage a head gasket, or seize an engine. Towing is cheaper than turning a $40 cooling-system repair into a multi-thousand-dollar engine job.
Final diagnostic checklist
Record the cold coolant level, coolant color, visible residue, and temperature behavior before taking anything apart. Confirm the cap rating and fluid specification from the service information. Pressure-test the system when the source is unclear, and inspect the coolant reservoir again after the first heat cycle.
The tank itself is often a simple repair, but the reason it failed matters. Plastic becomes brittle with age, excessive pressure can expose a weak seam, and an ignored hose leak can empty the system without leaving an obvious puddle. A careful inspection separates a replacement bottle from a radiator, pump, thermostat, or internal-engine problem.
Document the vehicle year, engine, part number, coolant type, and any measured pressure-test result in your garage log. That record makes the next diagnosis faster and gives other owners useful evidence instead of another vague forum guess. When the repair is complete, the coolant reservoir should stay dry on the outside, hold a stable cold level, and support normal operating temperature on every drive.




No comments yet — grab the first one.