A tire tread depth gauge is one of the cheapest useful tools in a garage. It replaces guesswork with a measurement, usually in 1/32-inch increments, so you can decide whether a tire still has usable tread or belongs on the replacement list. Checking all four tires takes only a few minutes and can reveal wear that is difficult to see from the sidewall.
What a Tire Tread Depth Gauge Actually Measures
Most passenger-car tires start with roughly 10/32 to 12/32 inch of tread, although the exact depth depends on the tire model and size. New performance tires, all-terrain tires, and winter tires can have different starting measurements. A gauge measures the remaining tread above the grooves, not the rubber on the sidewall or the height of a raised logo.
The common safety reference is 2/32 inch. At that point, the tread is considered worn out for normal road use, and the molded wear bars should be flush with the surrounding tread. Do not treat 2/32 inch as a target. Wet-weather traction has already declined before the gauge reaches that number, and a tire at 4/32 inch can deserve attention if you regularly drive through heavy rain or snow.
A basic tire tread depth gauge costs about $5 to $15. Digital versions often run from $15 to $35 and can be easier to read, but they do not automatically make a better measurement. A clean, correctly positioned analog gauge is accurate enough for routine maintenance.
How to Use a Tire Tread Depth Gauge
Start with the tires parked on level ground. The tires should be cold if possible, and the vehicle should not be sitting with one tire partly on a curb. Remove a small stone from the groove before measuring. You do not need to remove the wheel.
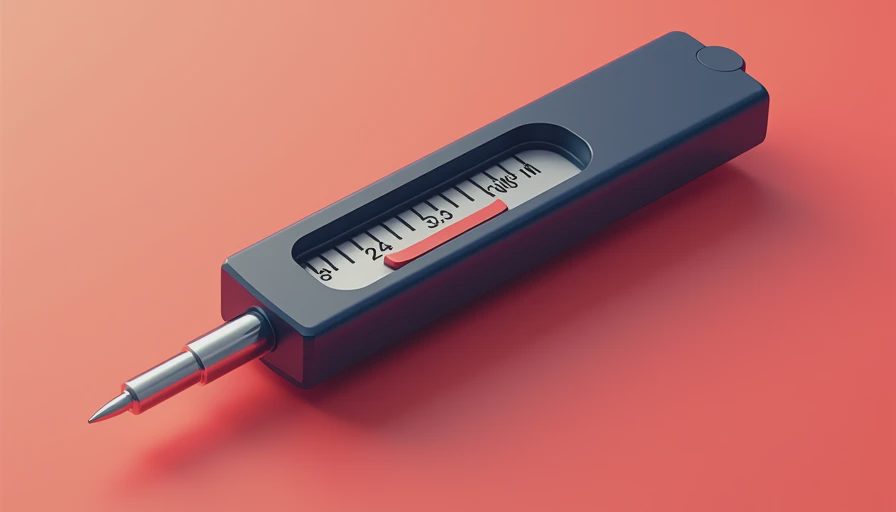
Place the gauge's probe into the main tread groove, then press the gauge body flat against the tread blocks. Keep the probe centered in the groove rather than on a tread block or directly over a wear bar. Read the scale while the tool is still seated. If the gauge has a sliding rod, the number at the body is the remaining depth in 32nds of an inch.
Measure at least three points across the tread: the inner shoulder, center rib, and outer shoulder. Repeat those measurements at several positions around the tire, such as the top, quarter-turn, half-turn, and three-quarter-turn points. Write the numbers down. A single measurement can hide a worn section, especially on a front-wheel-drive vehicle where the front tires do most of the steering, braking, and acceleration work.
If you are using a digital tire tread depth gauge, confirm that it reads zero when the probe is fully retracted or placed on a known flat reference. Battery-powered gauges are convenient, but a low battery can create confusing readings.
Reading the Numbers Without Fooling Yourself
A tire measuring 8/32 inch generally has substantial tread remaining. At 6/32 inch, the tire can still be serviceable, but wet-weather performance deserves closer attention. Around 4/32 inch, start planning replacement, particularly before a rainy season or winter trip. At 3/32 inch, replacement should be near the top of the maintenance list. At 2/32 inch or less, replace the tire rather than trying to stretch a few more miles from it.
Those numbers are guidelines, not a substitute for inspecting the rubber. Look for cracks, bulges, exposed cords, puncture repairs, and tread blocks separating from the casing. A tire with 7/32 inch of tread but a sidewall bulge is not safe. Age also matters: many tire manufacturers recommend close inspection after six years in service, and replacement around ten years from the date of manufacture is a common industry recommendation regardless of tread depth.
Measure tires on the same axle separately. If the left front reads 5/32 inch and the right front reads 3/32 inch, the difference is more important than the average. On vehicles with all-wheel drive, large differences in tire circumference can stress the drivetrain, so follow the vehicle manufacturer's limits for tread variation.

Use Wear Patterns as Diagnostic Evidence
A tire tread depth gauge becomes more useful when you compare its readings instead of recording only one number. Both shoulders worn lower than the center often indicate underinflation, though frequent cornering and alignment problems can contribute. A center worn lower than both shoulders commonly points toward overinflation. Check actual pressure with a reliable tire-pressure gauge before changing anything; the pressure printed on the tire is usually a maximum, not the vehicle's recommended setting.
If the inner edge is much lower than the center, inspect alignment and suspension parts. Excessive negative camber, worn control-arm bushings, or a bent component can produce inner-edge wear. Outer-edge wear can indicate alignment trouble, aggressive cornering, or a suspension problem. Cupped or scalloped sections often point toward worn shocks, poor wheel balance, or loose suspension components.
Measure across the tread at the same locations on both front tires. For example, readings of 5, 5, and 4/32 inch show a different problem from readings of 7, 4, and 7/32 inch. The first suggests fairly even wear; the second shows a center-wear pattern that deserves investigation. Fixing the cause before installing new tires prevents the replacement set from developing the same defect.
Choosing and Storing the Tool
For a garage, choose a gauge with a clearly marked 32nds scale, a probe narrow enough to enter passenger-tire grooves, and a flat base that does not rock on the tread. Milton, AstroAI, and Accutire make commonly available options in different price ranges. The brand matters less than repeatable readings and a body that has not been bent or dropped.
Keep the tool in the glove box or toolbox, not loose in a wet cargo area. Test it against a new tire or a known reference occasionally. When comparing tires, use the same gauge each time because switching between inexpensive tools can introduce small reading differences. Record the date, mileage, tire position, and measurement in a maintenance log.
A Simple Inspection Routine
Check tread depth monthly and before a long trip. Begin with tire pressure, then inspect for nails, cuts, bulges, and irregular wear. Use a tire tread depth gauge at three across-tread points and four around-the-tire positions. Record the lowest reading for each tire, not just the best-looking number.
If a tire is near 4/32 inch, price replacements before an emergency forces the decision. Compare the same size, load index, and speed rating shown on the vehicle placard or existing tire. Replacing only one tire can create handling or drivetrain concerns, so ask a qualified tire professional about matching requirements. Rotate tires according to the vehicle manual, and have an alignment checked when wear is uneven.
A $10 measurement can expose a pressure problem, alignment fault, or tire nearing the end of its life. Use the tool consistently, write down what you find, and treat the lowest reading and visible damage as the evidence that drives the repair.





No comments yet — grab the first one.